
Sending invoices is a major role for a business owner, without them, you don’t get paid. Cashflow Manager has the functionality to customise your customer invoicing templates. By using a customised layout, you can add on a logo or image, personalised messaging, payment terms and payment information.
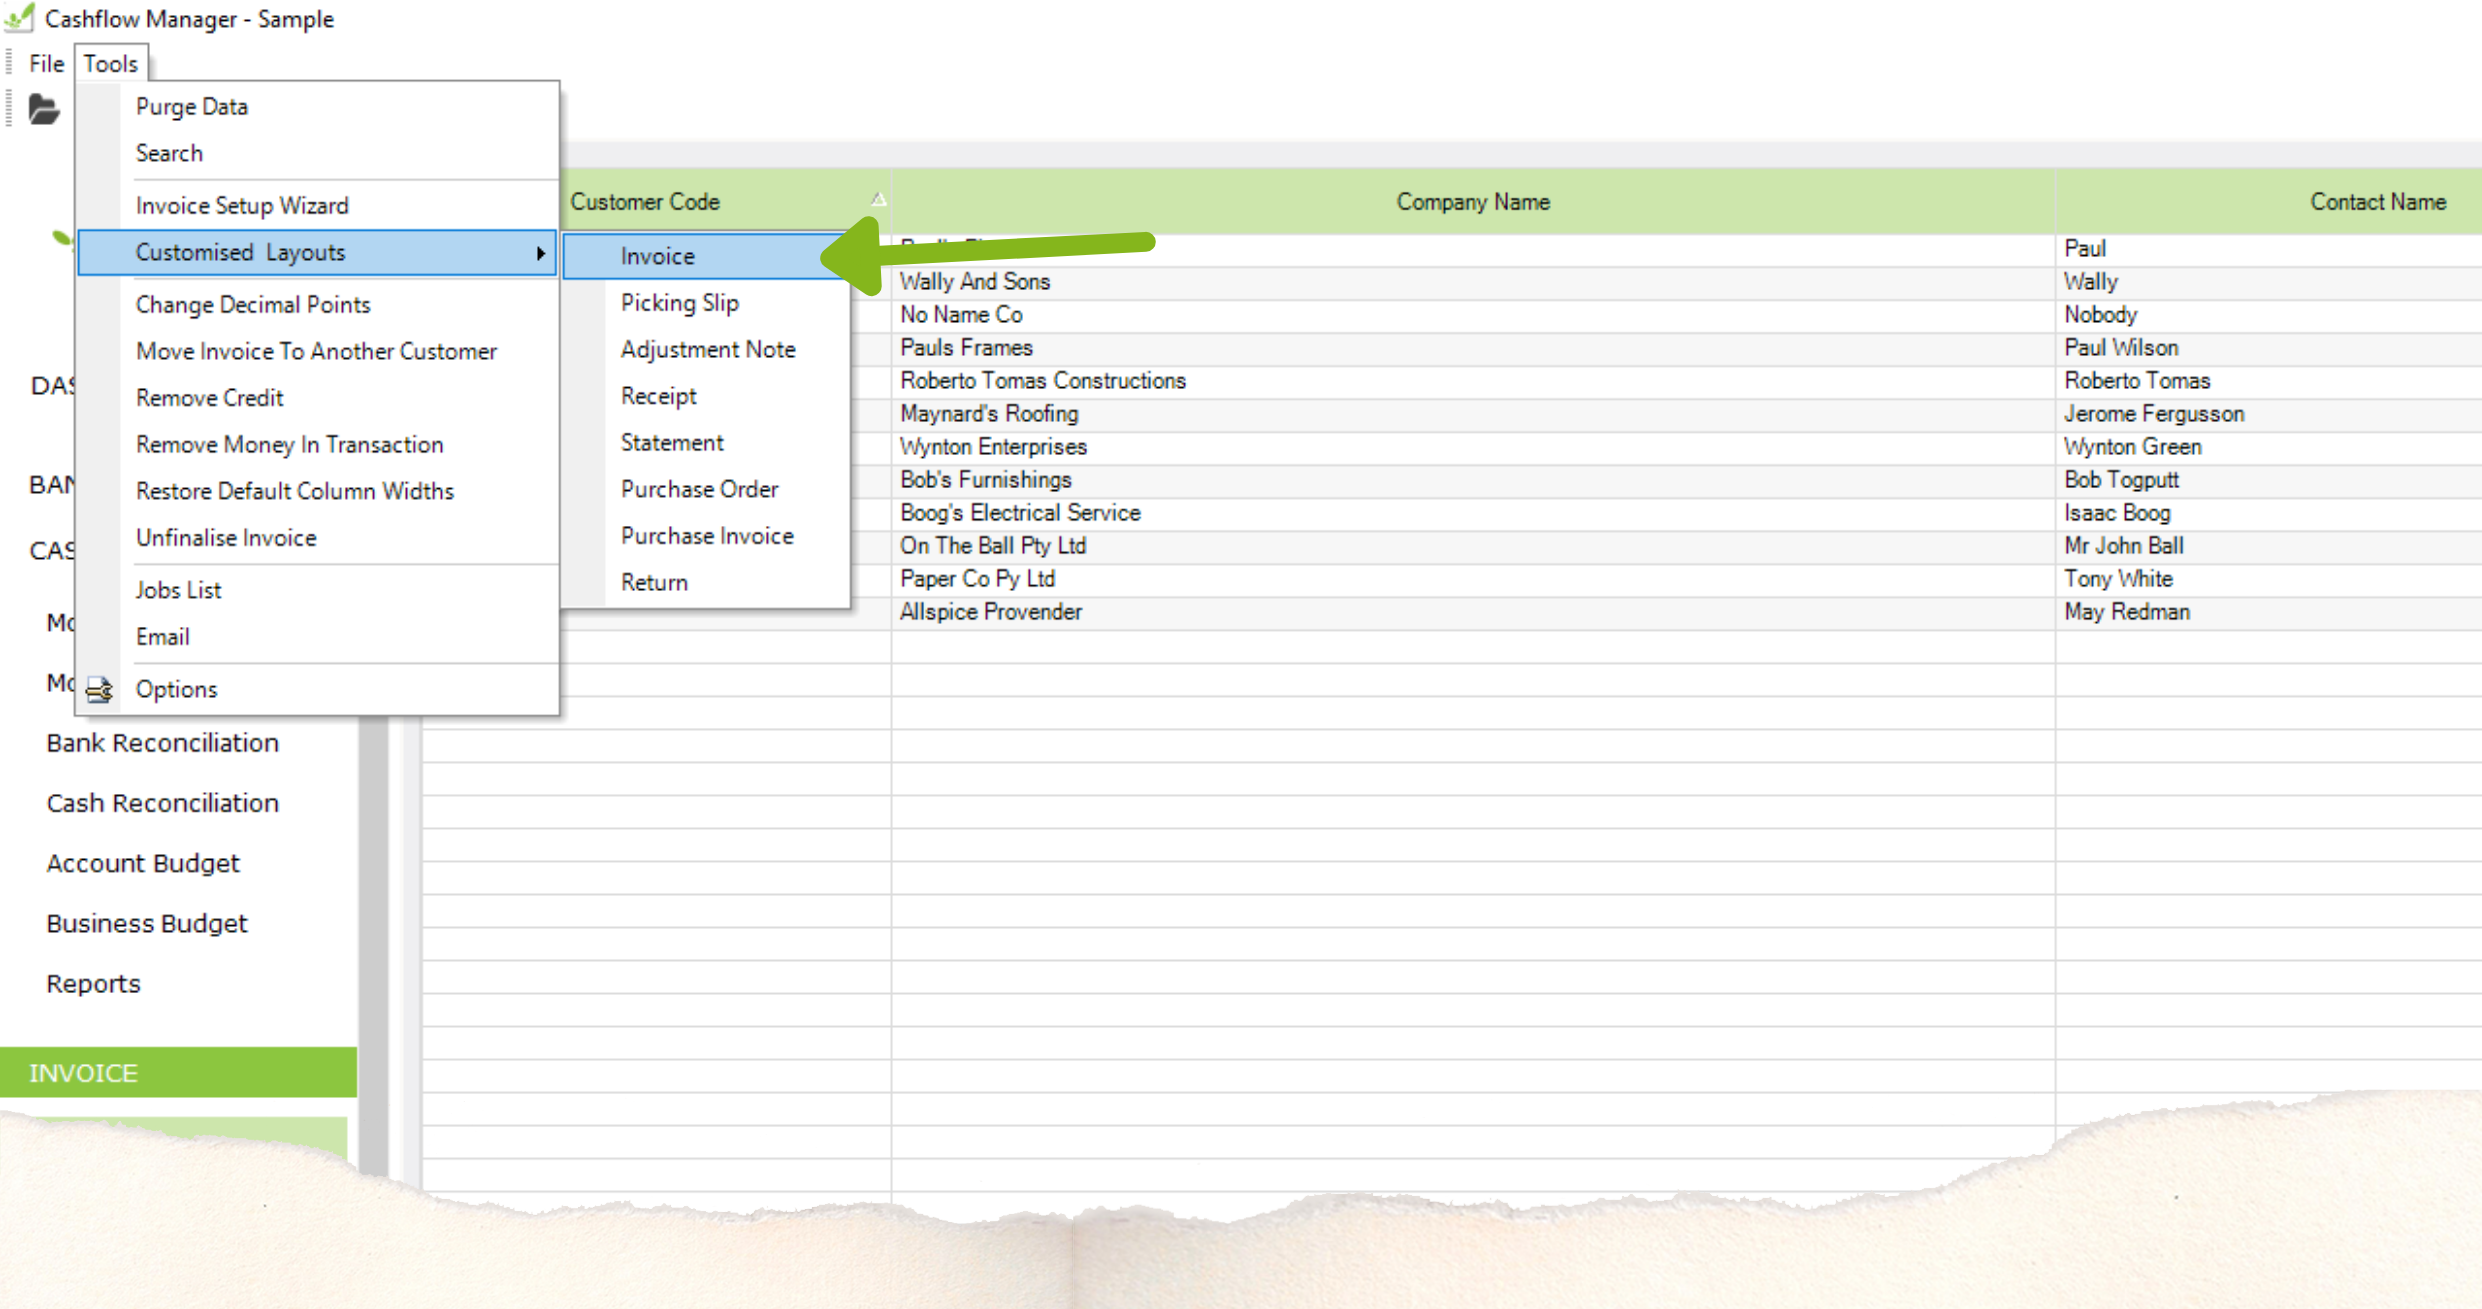
The Customised Layout function is located in the INVOICE module. Once you have selected ‘INVOICE’ from the sidebar, click the ‘tools’ dropdown menu at the top of the program.
In there you have the option to Customise Invoices, Adjustment Notes, Picking Slips, Purchase Orders, Purchase Invoices, Receipts and Statements.
Go to Customised Layouts, click on the Invoice option and select an empty layout to load.
You will then see the customisation page.
The page is split into 3 sections: Header, Details and Footer. *please note: you cannot move a text box/field/logo from one section to another.
The two key things to remember are:
- The text boxes (dotted line boxes) print exactly what is written.
- The solid blue boxes are ‘fields’ this means they print the information that is specified in the writing (I.E., A field stating ‘Invoice Code’ will print the invoice number, and the text box in front of that reading ‘Invoice number:’ will print the invoice number:)
Adding a text box:
Text boxes are commonly used to add in bank details, terms of payment or personalised messages.
To add one, start by right clicking on the page where you want the text to show.
- Then select [Add Textbox]. This will populate a [Label #].
- Click on the label and select the ‘Text’ box under the name and property grid to the far right of the screen.
- Click the [Label #] under the property grid and type in what you want to appear on the invoice and press enter on your keyboard. Using the grid
- you can change the font, colours and size of the text.
- You can then click and drag the text box where you want it to appear within your selected area.
Adding a data field:
Data fields are used to produce data from either your business information, your client’s information, or from the invoice you are generating.
- To add in a field, you first need to add a text box.
- Right click in the area you want the field to appear.
- Then select [add text box].
- Once the text box is added, select it and on the name/property grid to the right, click on the [Data] property drop down, select [True] and press enter on your keyboard.
- This will change the text box to a data field.
You can then right click on the field on the layout and select what data you need it to generate.
Adding a logo/picture:
- To add your logo, right click in the header section and select [Insert Picture Box].
- A square will appear in the layout which you would then right click on and select [Set picture]. You would then select your image file and open it.
- To adjust the size of the logo you would use the Name/Property grid to the right.
There you can adjust the height and width numbers to suit your logo image.
Saving your layout:
- To save the layout, click on the [Save layout] icon from the toolbar or click the [File] menu and select Save Layout.
- You can then set the layout as active by going to the [Tools] menu, click [Options] and in the ‘Customised Layout’ section, select your new layout and click [Save].
For more information, click here to view the guide.